In a foreign land alone as a stranger, every time the holiday fat three pounds, do not know how the Spring Festival flies, anyway, I flies
After finishing the Spring Festival holiday, I was back in work. I just got back to work. I just decided to change the D-Link NAS hard disk a few days ago to write a small article. The main reason is that everyone is pointing to each other (Pian). (Jin) guide (Bi)
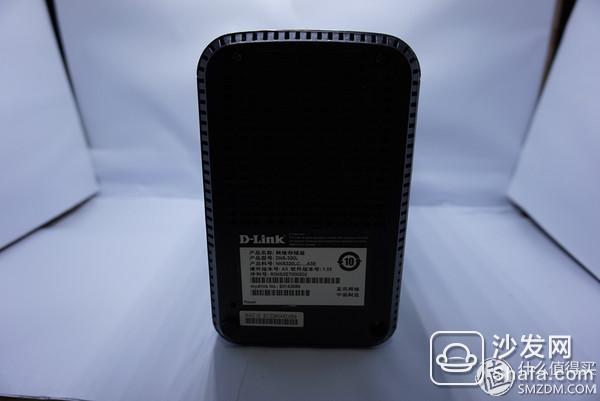
LZ home, early because of the need to download movies and backup data, into a D-Link DNS-320L network cloud storage, dual inventory, function is very basic anyway, after all, the price is very basic, but to meet the daily use of LZ, It's enough to meet Changle Well
 D-Link DNS-320 Two-bay Gigabit NAS Storage Support 4TB P2P Download Double-disc Memory 449 yuan Jingdong direct link
 Because it is a double disk, so it was originally to join together two hard drives, one is a 3.5 inch Western Digital 1T 7200 rpm hard drive, the other is a notebook disassemble 2.5 inch, 500G 5400 rpm hard drive, using JBOD format, that is, in the NAS There is no way to combine two hard disk data spaces to form a large partition.
This is the goods

Show you the chrysanthemum
This time, it is mainly to take into account the photos of many baby's inside. From the security point of view, prepare to replace the original 2.5-inch hard disk with a 3.5-inch 1T hard disk, and then form Raid1 to protect the data. The photos are worthless.
Well, the next ready to start, the data must be backed up first, the data must be backed up first, the data must be backed up first, the important thing said three times!
Considering the problem of computer backup and network transmission speed, I finally decided to use USB external hard disk drive to connect directly to the NAS for backup. The next step is the backup process.
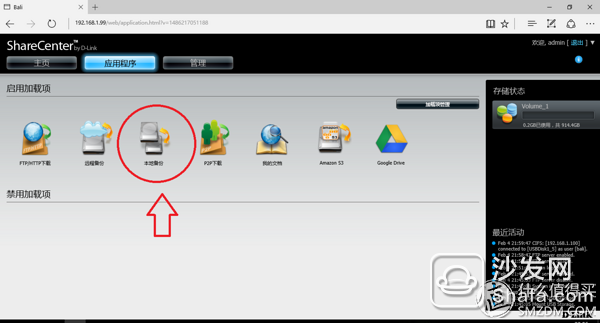
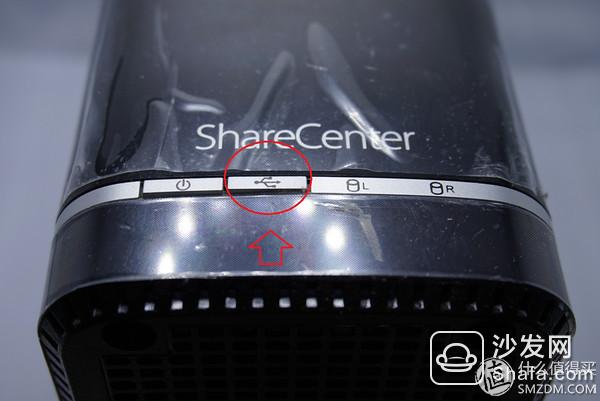
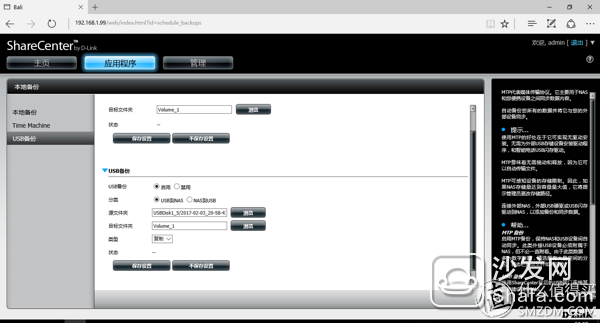
First of all, prepare a mobile hard disk with enough capacity, connect to the USB interface on the NAS daisy, then log in to the NAS management page and find the “local backup†in the “applicationâ€.
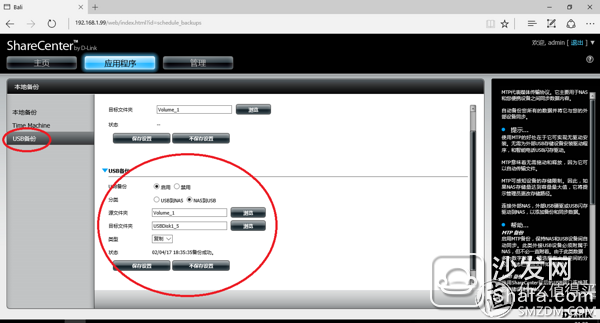
Find the USB backup on the left side, and then select "Enable", "NAS to USB" on the right side, then select the correct access path, select "Copy" mode, and save the settings
Then the page will pop up a reminder to tell you to enable backup by pressing the USB button on the NAS panel
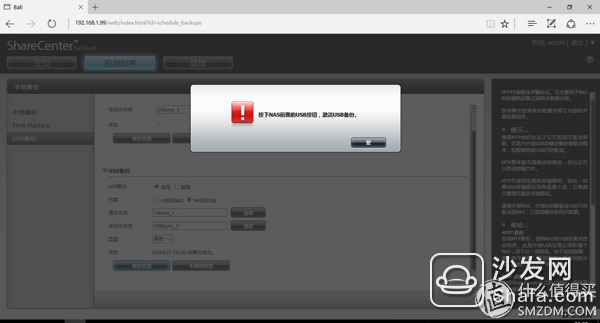
At this point, to the NAS, press the second button on the front panel, you can start
Next, I wait for it to be backed up because I have more data and there are more than 400 G, so I am directly lost and continue the next day.
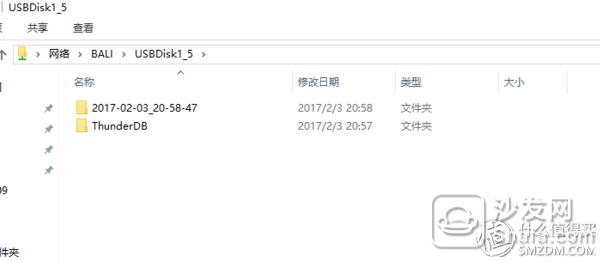
To be on the safe side, first check the backup data, directly access the network, open the USB removable hard disk, and you can see a folder with a date + time full name in the root directory of the hard disk.
Going in is a hard disk backup
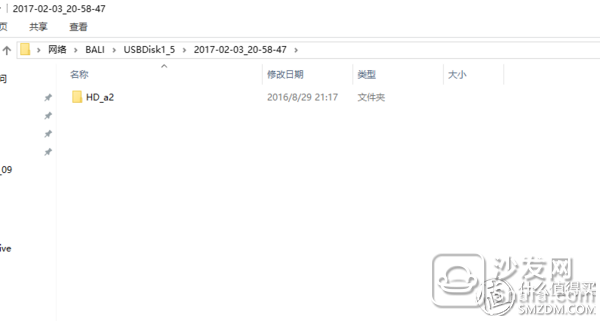
Check the data is complete, complete on OK

Next is the process of changing the hard disk
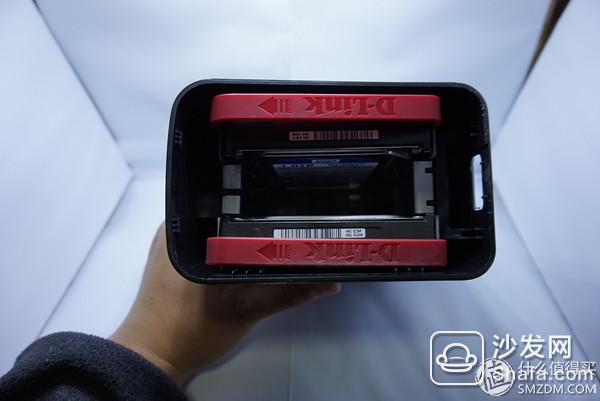
The first step is of course to open the top cover of the NAS and see the original two hard disks
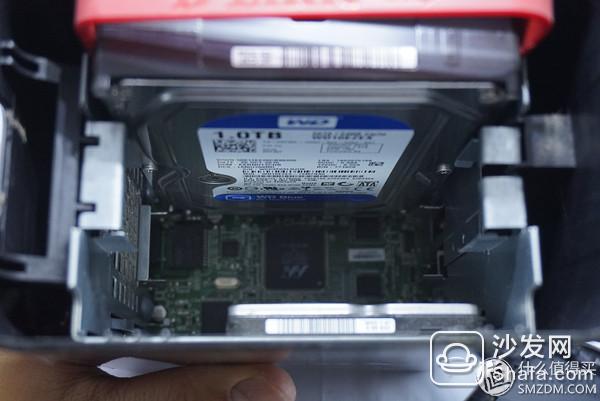
2.5 inches because the bracket can not be installed, streaking
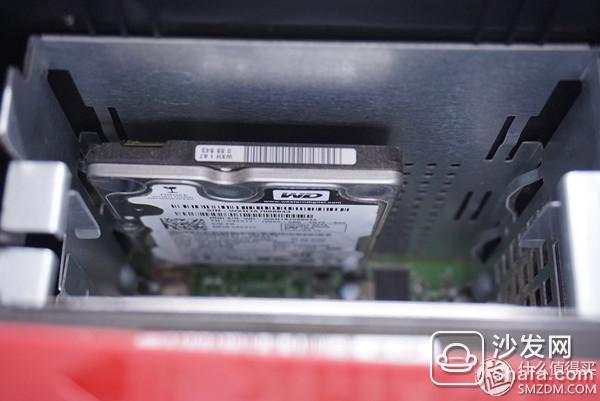
Pull the 2.5-inch hard disk directly

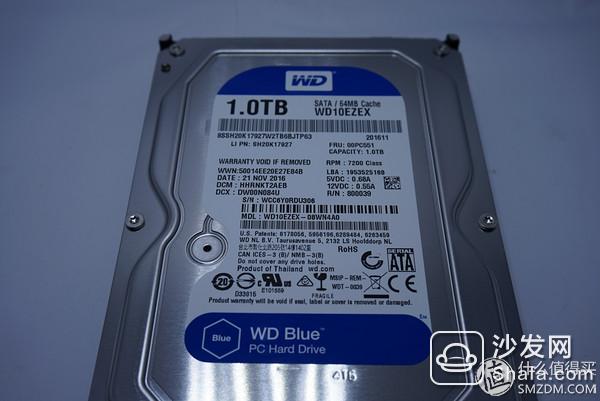
Now the way the Sun just bought the 1T 3.5-inch Western Digital hard drive, the big four "E-commerce special", do not know if the quality is reliable
 Western Digital (WD) Blue Disk 1TB SATA6Gb/s 7200 to 64M Desktop Hard Drive (WD10EZEX) 349 yuan Jingdong direct link
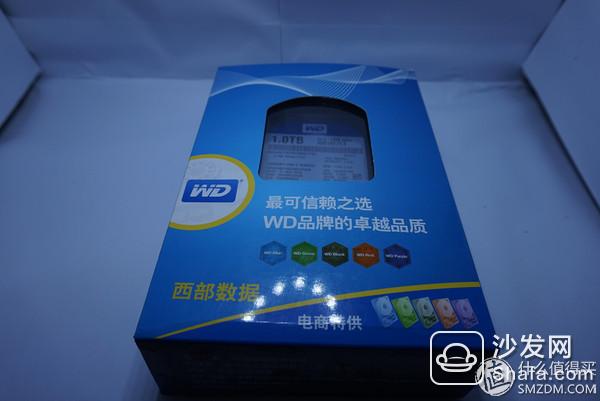
There is no other tamper label on the packaging. You can directly take out the contents of the packaging. The visual inspection is to add a packing box.
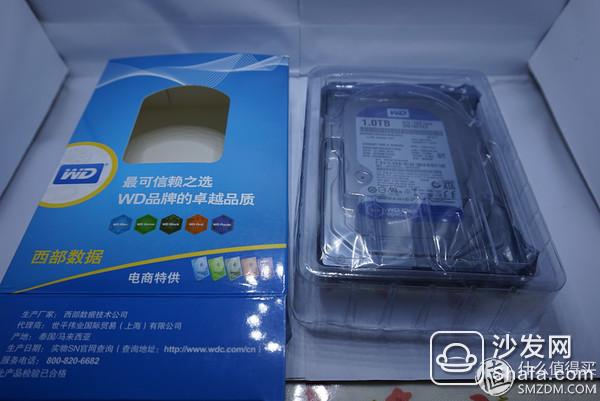
Did not tear the film, first look at the hard disk parameters to see if there is wrong

Take a closer look
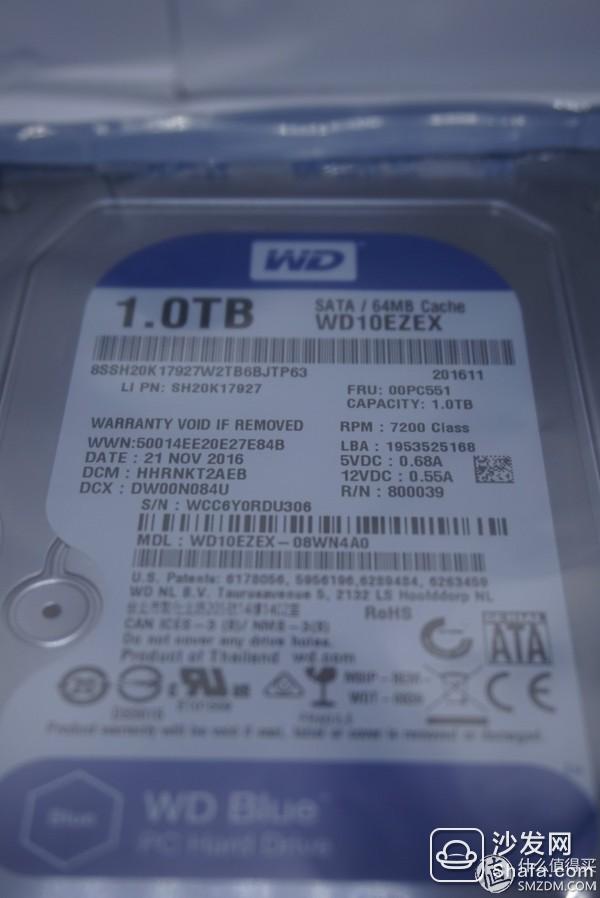
Now break the membrane, demolish it and look at the parameters in detail
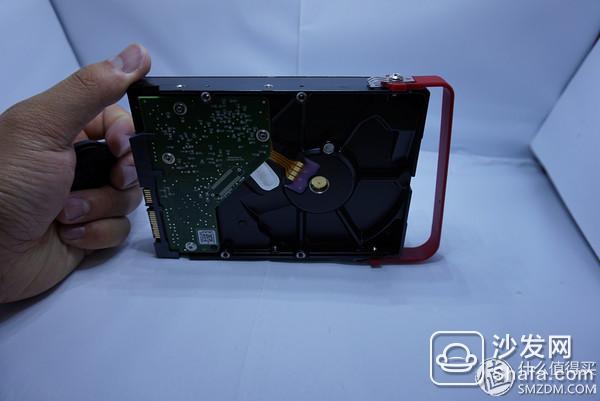
Bottom circuit

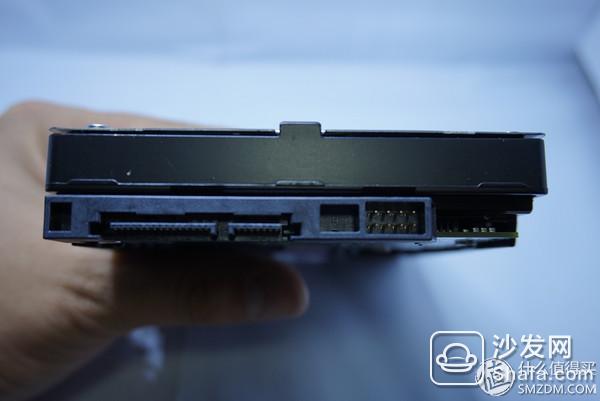
Then check the lower slot, there are no traces of use
After checking and drying up, there is no problem. Then find out the NAS random donation hard disk bracket.
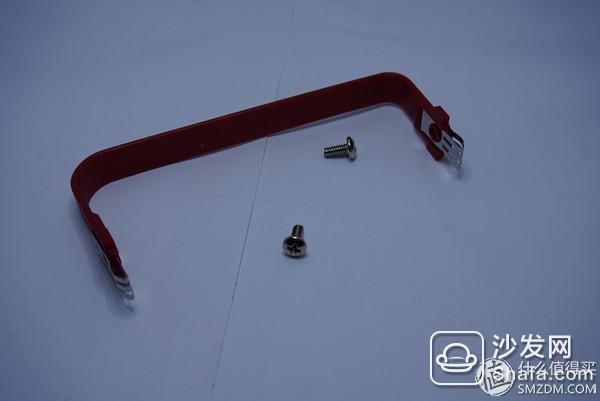
Study the next direction without installing it, otherwise the NAS cover will not cover, and the bracket will be screwed to the hard disk after the correct direction. SO Easy
Reload it to NAS
Now is the configuration part of the software, which is also So Easy
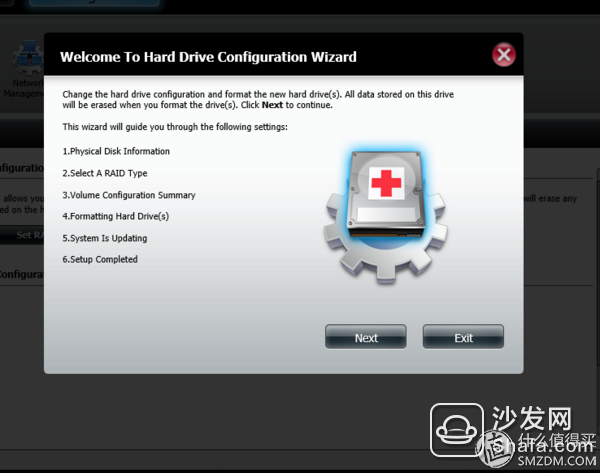
Log in to the Nas management page and click on the following figure to configure the hard disk

Next, the page prompts Ballabala for what kind of process is going to be done next, regardless of which, directly next
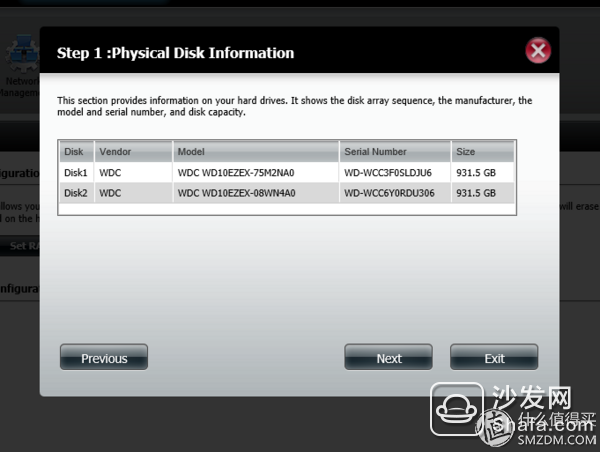
In this step, the NAS will list the detected hard disks. Check that there is no problem. Continue to Next
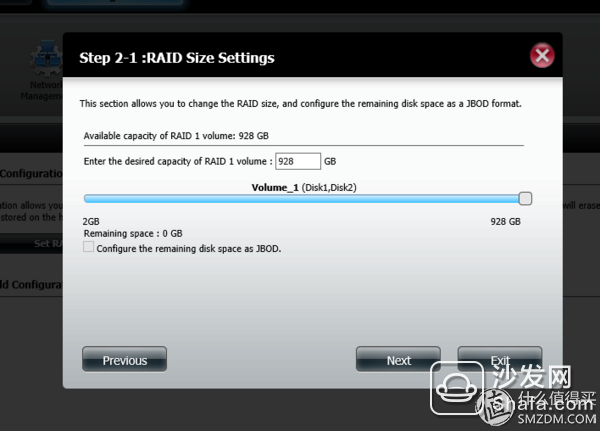
Then select the hard disk configuration mode, the first is the standard mode, two hard drives for each partition; the second JBOD is two hard drives merged into one partition; the third is Raid0 acceleration mode; the fourth is Raid1 Mirror mode, I chose the fourth

The newly appeared window is the capacity configuration. The capacity of Raid can be configured, and the rest will be converted to JBOD. I don't need to modify it, so the direct Next
The next option is to choose whether to allow the system to automatically rebuild, the general choice is not allowed

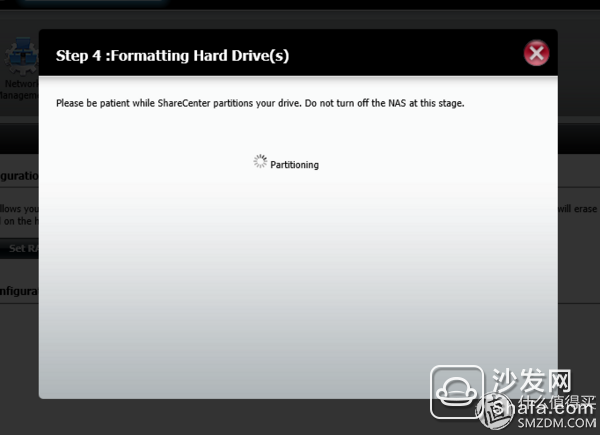
Then make a confirmation, point Format without problems

Prompt formatting will lead to data loss, continue, click Yes

Then the system will begin to configure

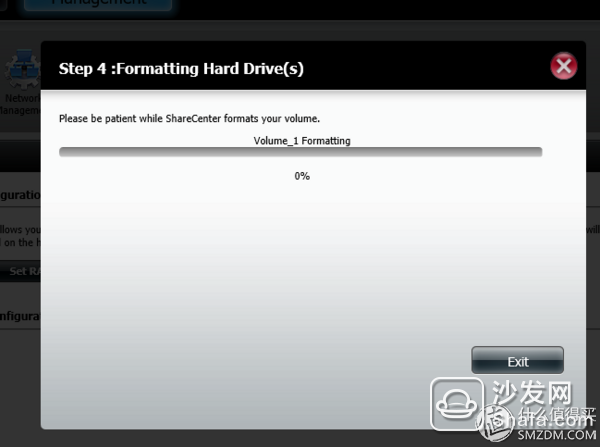
Waiting for completion will be done
The next step is to restore the data back
Put the backup data back to the NAS, and then find the USB backup in the application interface.
After saving, press the USB button on the NAS, and wait for the data to complete. Completely replace the NAS hard disk.
Well, this issue of pig raising lectures is here.
Automotive Fuse
Automotive Fuse, ie Car Fuse, is the name we are often called. Its official name is "fuse protector." The use of Automotive Fuse Block is very similar to that of household fuses, which act as a circuit protection barrier when the circuit current is abnormal and exceeds its rated current. Vehicle fuses are broadly divided into two types of fast-blow fuses and slow-blow fuses.

A car is made of Car Fuse, Automotive Switches and other kinds of Automotive Accessories, and the Automotive Switches including Automotive Rotary Switches, Automotive Battery Switches, Automotive Rocker Switches

Inline Fuse Holder include high-current fuses and medium-low current fuses. Medium and low current fuses are generally easier to reach. Low-to-medium current fuses can be broadly classified as chip fuses (including automatic fuse box mini-fuse), plug-in fuses, screw-on fuses, and tube fuse box fuses. Among them, we are able to access medium-sized ATO or small-size fast-acting chip fuses. Chip fuses can carry small currents, short pulse currents, such as headlamp circuits, post-glass defrosting, and more.
Car Fuse,Automotive Fuse,Automotive Mini Fuses,Automotive Fuses Types
YESWITCH ELECTRONICS CO., LTD. , https://www.yeswitches.com